After seeing how to properly mattify the nail and how to apply the tips, here we are with the new guide dedicated to the application of UV gel. In this article I will try to explain the basic steps. Ready to learn all the secrets on how to make a perfect UV gel casting? Then continue reading, follow the steps and have fun trying on your nails, over time you will become very expert!
How to apply UV gel on nails: casting
Here are the steps required to cover your nails with UV gel in a precise and aesthetically pleasing way.
1) After having properly opacified the entire surface, apply the primer as if it were a glaze and wait for it to dry completely.
2) Apply the base gel as if it were an enamel and catalyze in a UV lamp for 120 seconds / three minutes depending on the times indicated on the jar of gel.
3) Using the dotter or the brush create a ball of builder UVgel and place it in the center of the nail surface. On the point of stress, work it by distributing it downwards to the sides and finally on the edge.
4) Turn the nail over, tap the fingertip lightly and wait a few seconds. It cures in a UV lamp for the necessary time.
5) Degrease to remove the dispersion layer and if necessary, fix the structure with a file creating a perfect C curve.
6) Smooth with a buffer, apply the sealant like a polish and finish by holding the nails in the lamp for 120 seconds. Degrease again and that’s it!
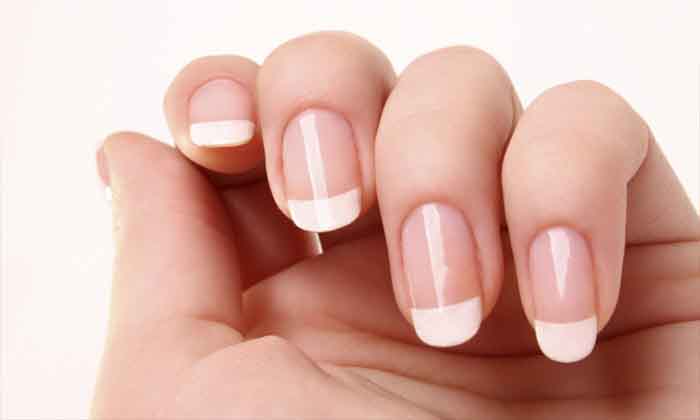
Optionally you can proceed with a nail art, as shown in the post. If you are wrong at first, do not worry: it is completely normal and with time you will certainly become more experienced!
I hope this post was useful to you. If you want to looking for other nail beauty supply, take a look at our sponsor! On the Maryton website, you will find a rich assortment of manicure and pedicure set.


